A First Glance at Raspberry Pi 4 Running QNX 8.0
January 4, 2025
I recently purchased a Raspberry 4 to fiddle around with QNX 8.0 that has been released to the educational and hobbyist community. Being frustrated with running QNX virtual machines via Momentics, I decided it would be much easier to run QNX on a piece of hardware. I do not know if it is just me but I find my newly created virtual machines have a one-time boot lifespan. Any attempts to restart my virtual machines via Momentics, I would have network related issues and therefore would not be able to connect to the virtual machine remotely. This means that I cannot transfer files. I long forgotten how to create QNX image and run them on QEMU via commandline so I took the opportunity to buy myself a raspberry Pi (tbh I was just being lazy to resolve my issues).
Anyhow, enough idle chatter. Upon booting QNX on the Raspberry Pi, you’ll be first greeted with what appears to be demolauncher (though I did not confirm this):
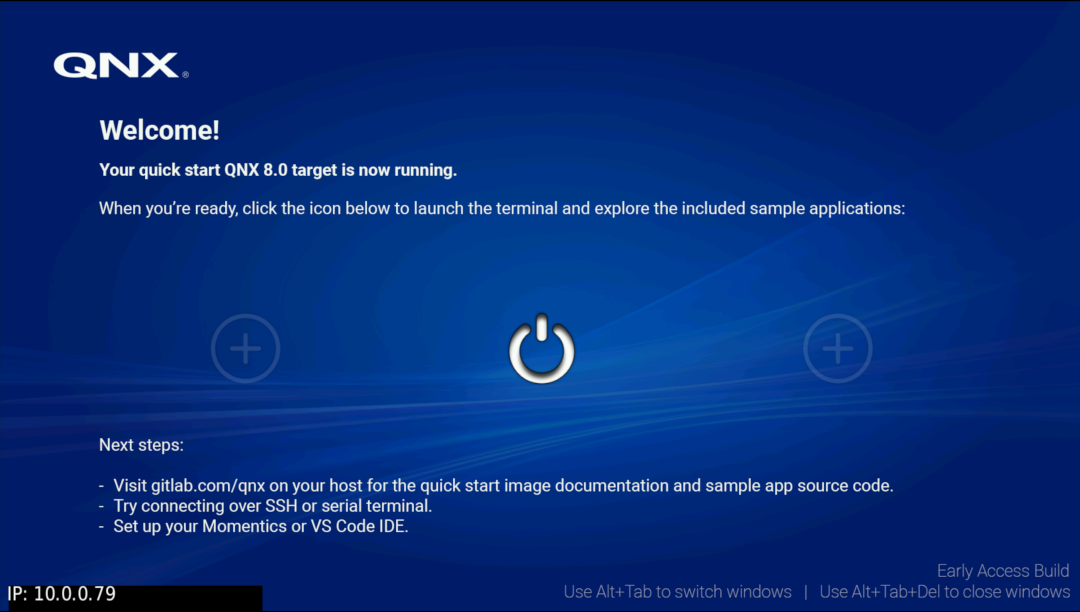
Honestly this screen is annoying because I have to connect a mouse to simply open a terminal. Once authenticated, the terminal will greet you with a message along with a few bundled samples you can try:
Welcome to QNX 8.0!

This QNX 8 target is now ready for your QNX applications. There are
some sample applications included here to help you get started with
development. Find the source code for most of them at gitlab.com/qnx.

Here's how to run some of the bundled samples:

|------------------|----------------------------------------------------------|
| $ gles2-gears    | Displays hardware-rendered content using OpenGL ES 2.x.  |
| $ gles2-maze     | Shows how to use texture, vertex, and fragment shaders.  |
| $ vkcubepp       | Demonstrates 3D rendering capabilities using Vulkan.     |
| $ camera_example | Displays a simulated camera signal or live camera feed.  |
| $ st             | The default terminal. Run it to open a new instance.     |
| $ blinq          | A simple web browser. Make sure your system date is set. |
|------------------|----------------------------------------------------------|

(You can use ALT-TAB to switch between windows.)

Have questions? Find the community on Reddit at r/QNX, ask on StackOverflow,
or log an issue at https://gitlab.com/qnx .
Below are some of the bundled samples mentioned above along with some additional samples that I found on the image
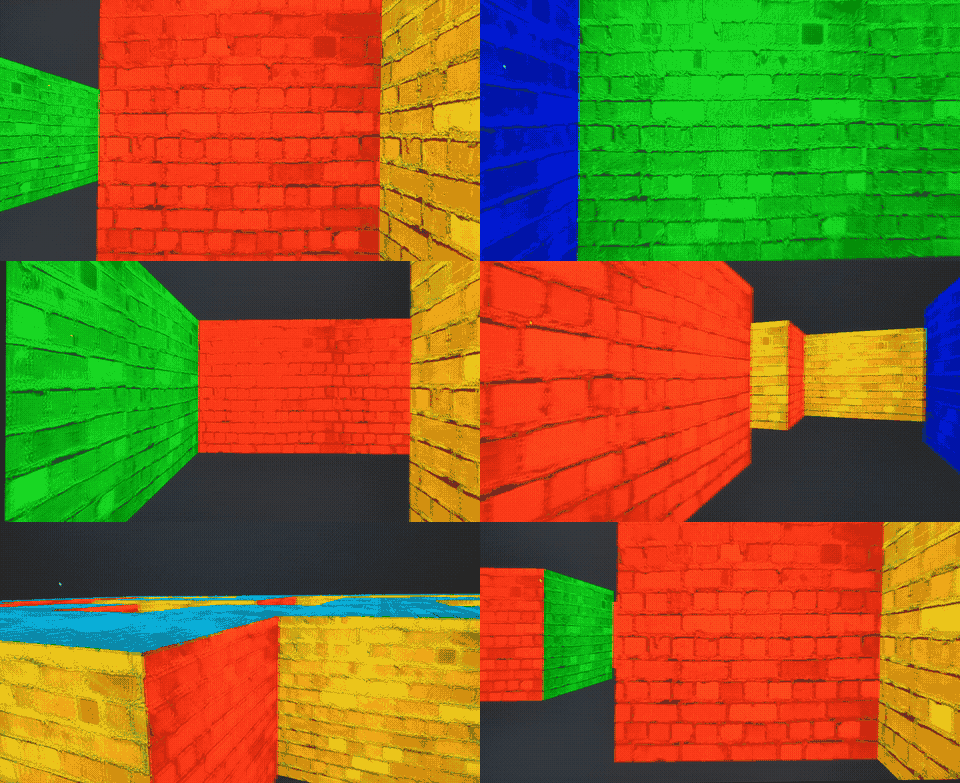
The sample renderings are for illustration purposes only. To post them on the internet within a resaonable size, I had to significantly reduce the quality of the recordings:
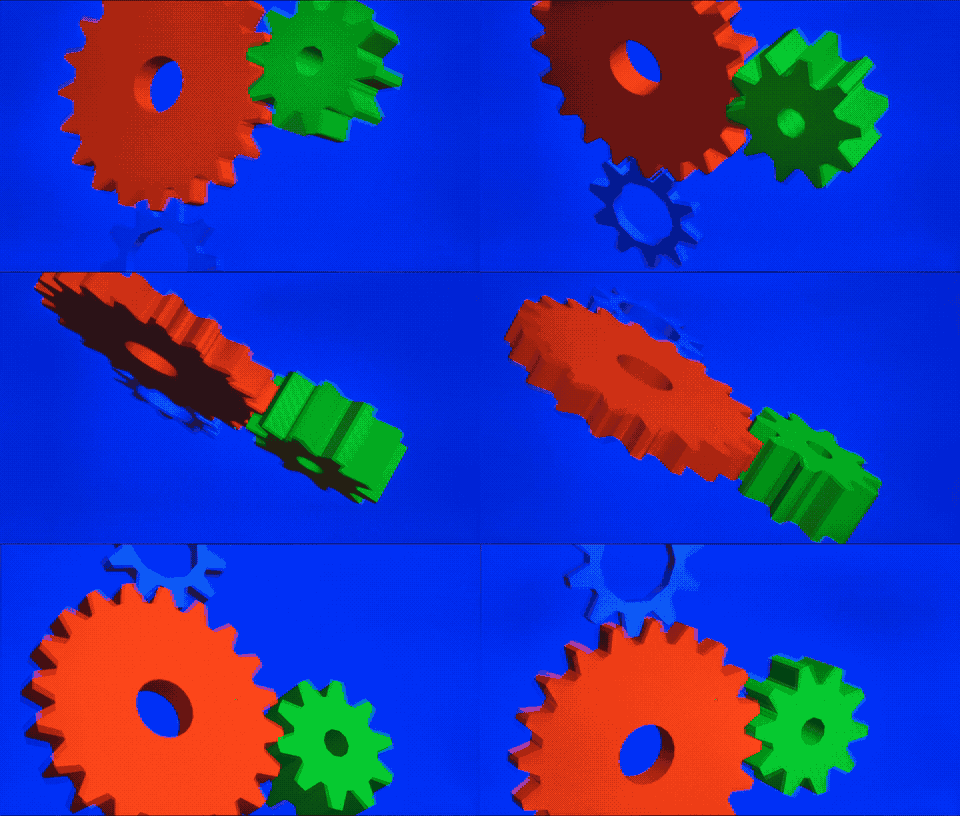
gles2-gears or gless3-gears
gles2-maze
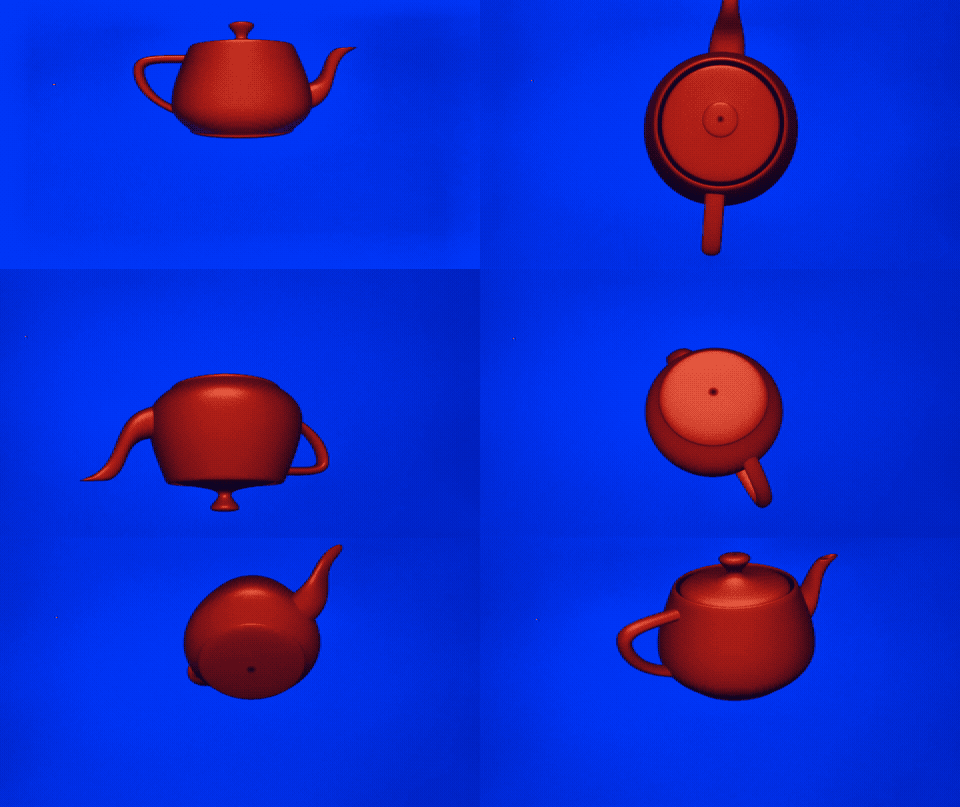
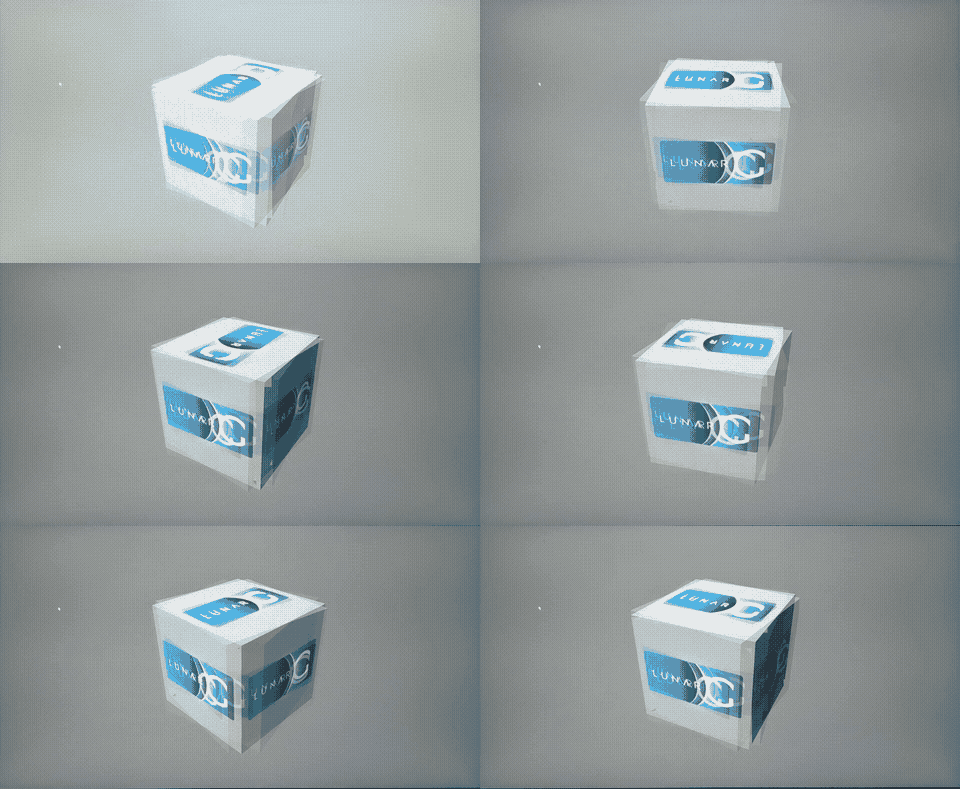
gless2-teapot
vkcubepp

camera_example: brings back memories of SMPTE color bars from the old days
As one can observe, most of these samples demonstrate graphical rendering using either OpenGL 2 (and 3) or Vulkan. I do think it is quite a neat demo but it does not demonstate QNX’s potential and abilities. It is hard to demonstrate QNX’s abilities without going into the weeds and pushing the OS. I did not fiddled around with QNX much so to be honest, these graphical demos surprised me as I haven’t seen QNX having anything graphical aside from the QNX 1.44MB Demo disk and QNX 6.5. I am more used to the plain old terminal experience I had with QNX 7 and 7.1.
st is a useful command to spawn a new terminal without going to the awful welcome screen and manually press the button to spawn a new terminal. As much as
I dislike the welcome demo screen, the page demonstrated to hobbyists that QNX raspberry Pi image has graphical capabilities that they can utilize for their own
side projects. The blinq browser as stated in the description is indeed a simple web browser.
There is nothing impressive about the web browser, as advertised, it is a bare bone web browser that can be quite slow. Weirdly enough, the web browser is not able to immediately report that a webpage does not exist. I do not know if that is an issue with the browser itself or the default network settings because it would load a non-existing page forever (well to be more precise, I gave up waiting).
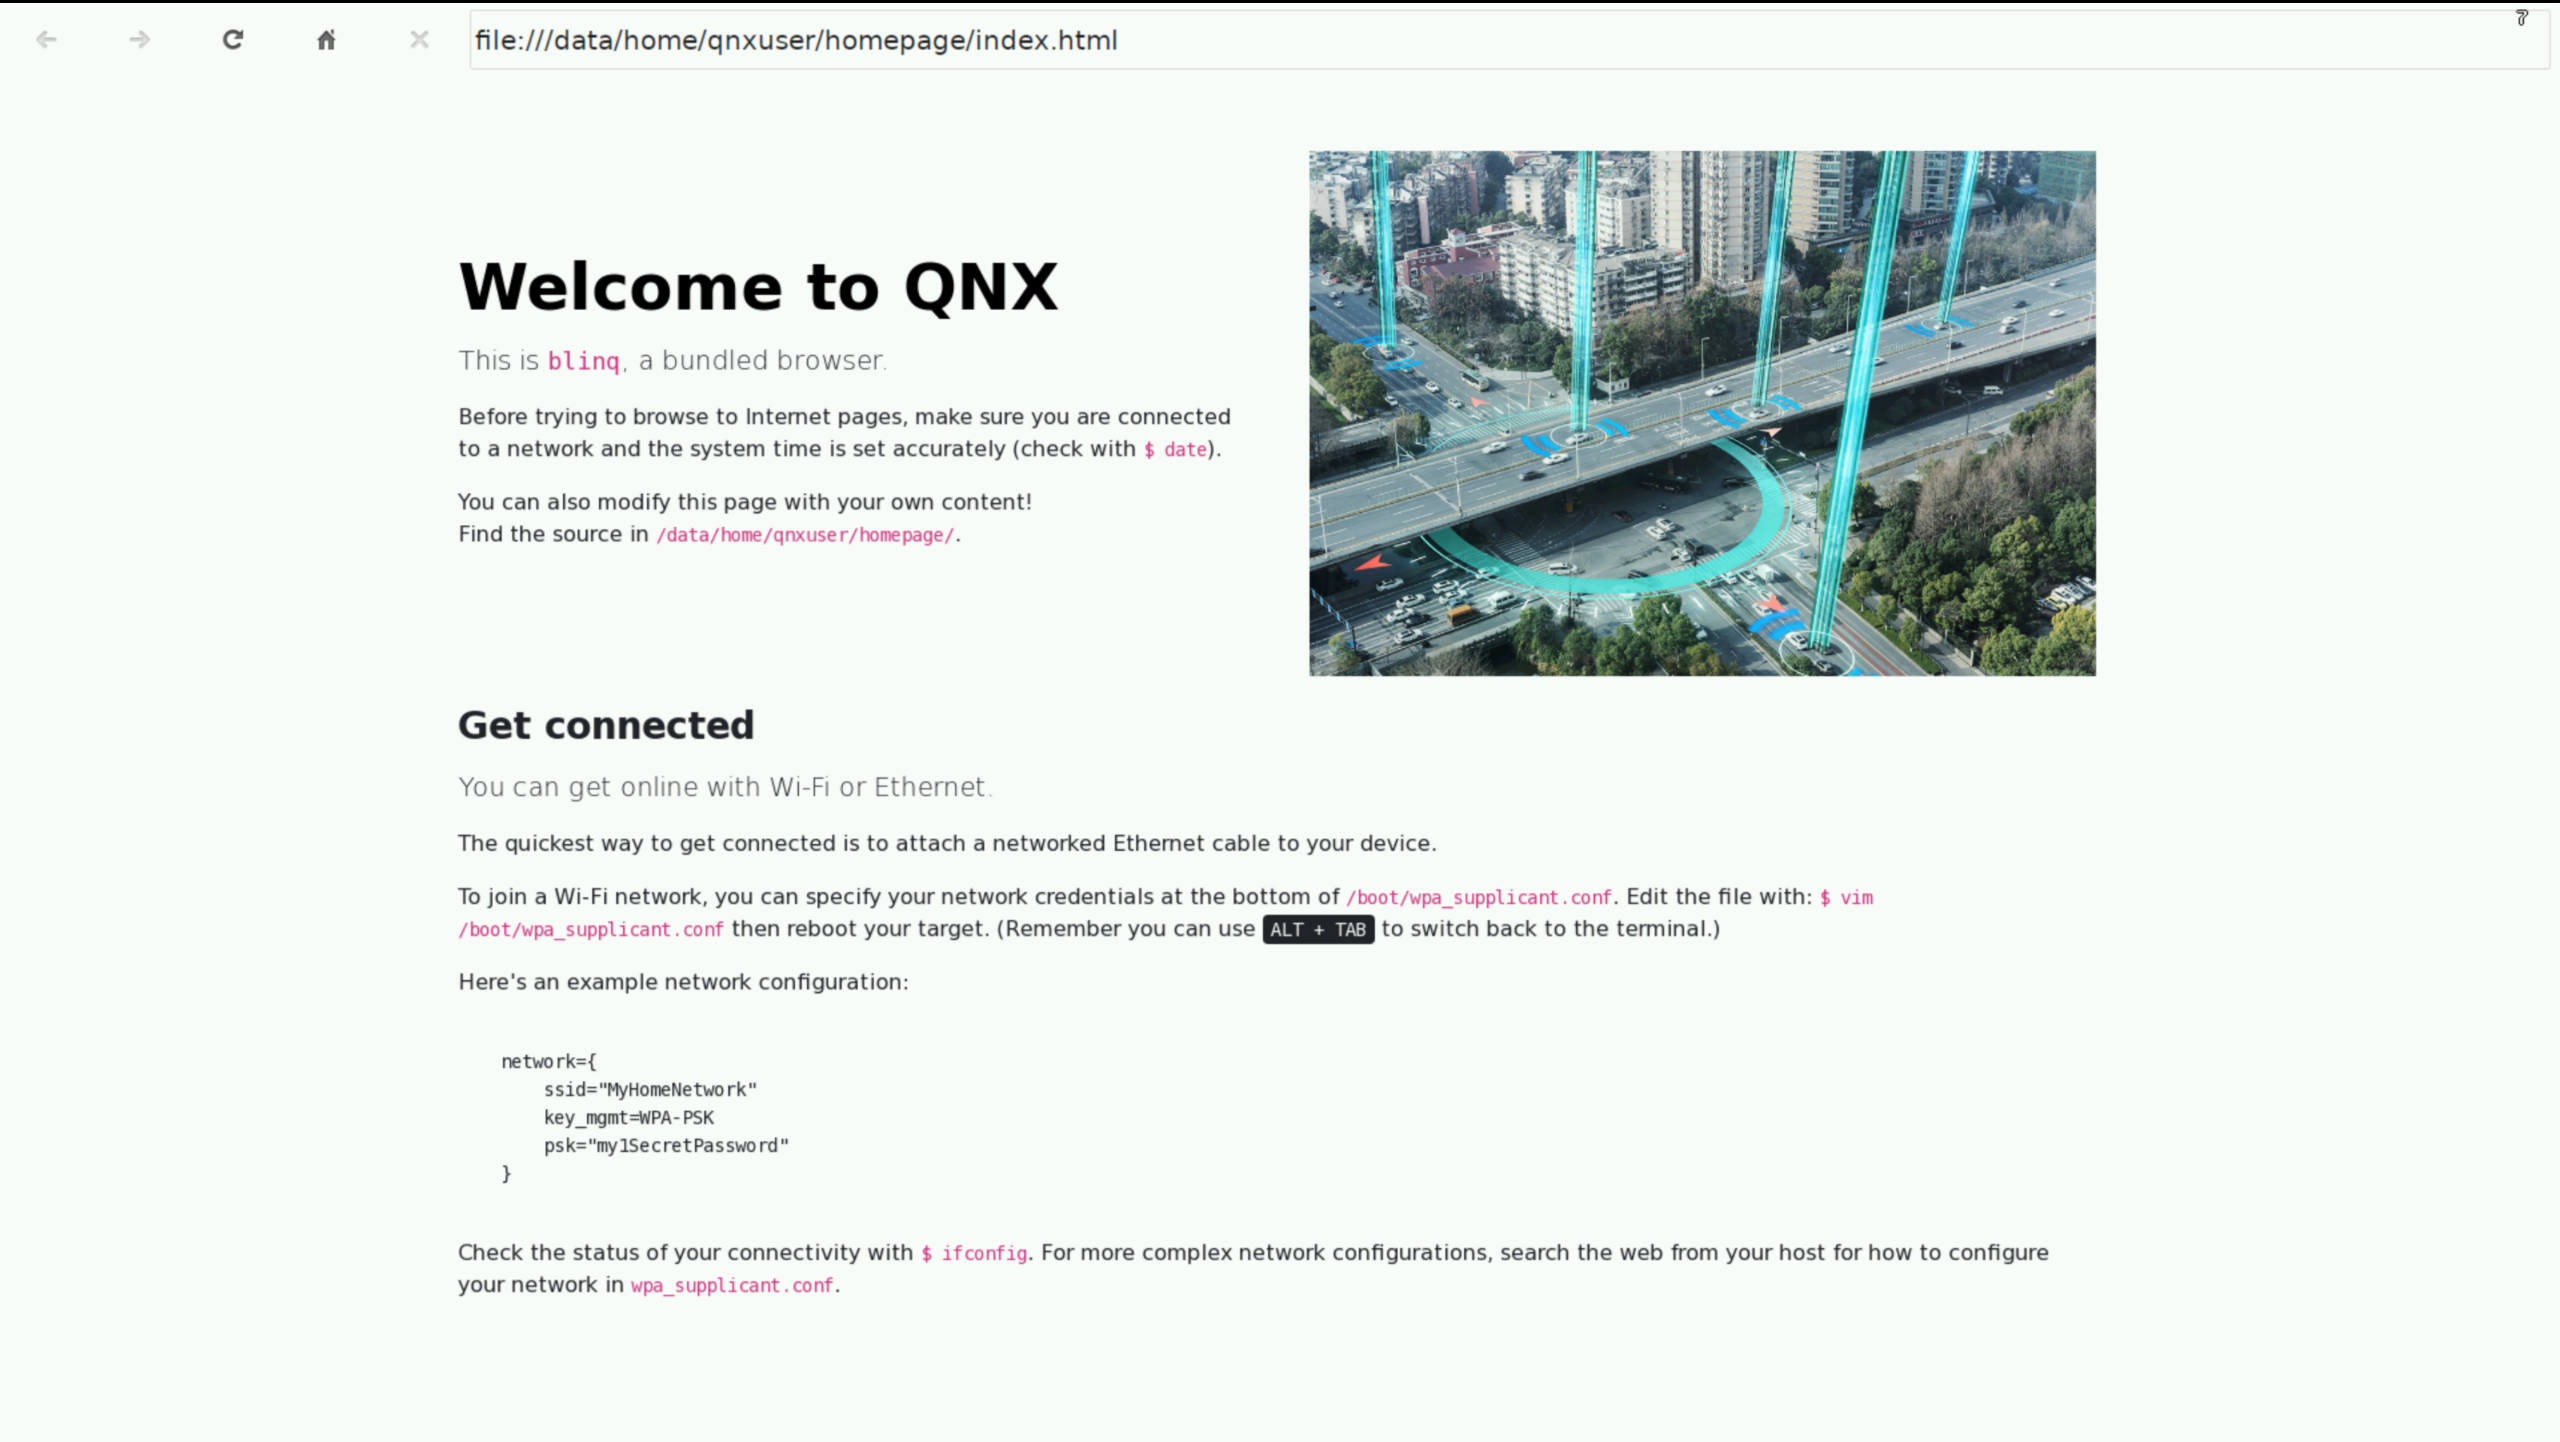
Unsurprisingly, blinq is a Chromium based browser that is severely out of date.

There are a good number of useful binaries bundles in the raspberry pi image by default:

One of the features I greatly appreciate is the screenshot and vncserv utilities to take screenshots and access the machine remotely with graphical interface respectively.
Hopefully we can see some interesting projects from the hobbyist community in the near future.